HOW TO MASTER THE PERFECT CHICKEN CUTLET: THE ULTIMATE GUIDE
This is less of a strict recipe and more of a base method you can adapt depending on what you’re making. Once you have the technique down, you can change the seasoning, breadcrumb ratio, toppings, and even the thickness of the chicken to fit whatever flavor profile or dish you’re going for.
RATIOS FOR 1 LARGE CHICKEN BREAST
- 1 large chicken breast, sliced into 3–4 thin cutlets
- 3 heaping tbsp all-purpose flour
- 1 large egg
- ½ cup panko breadcrumbs
- ⅓ cup regular breadcrumbs
- Dried oregano
- Salt
- Black pepper
- Garlic powder
- Paprika — smoked paprika is my personal preference
METHOD
1. Cut and season the chicken
- Cut the chicken breast horizontally into 3–4 thin cutlets. Try to keep them as even in thickness as possible so they cook evenly.
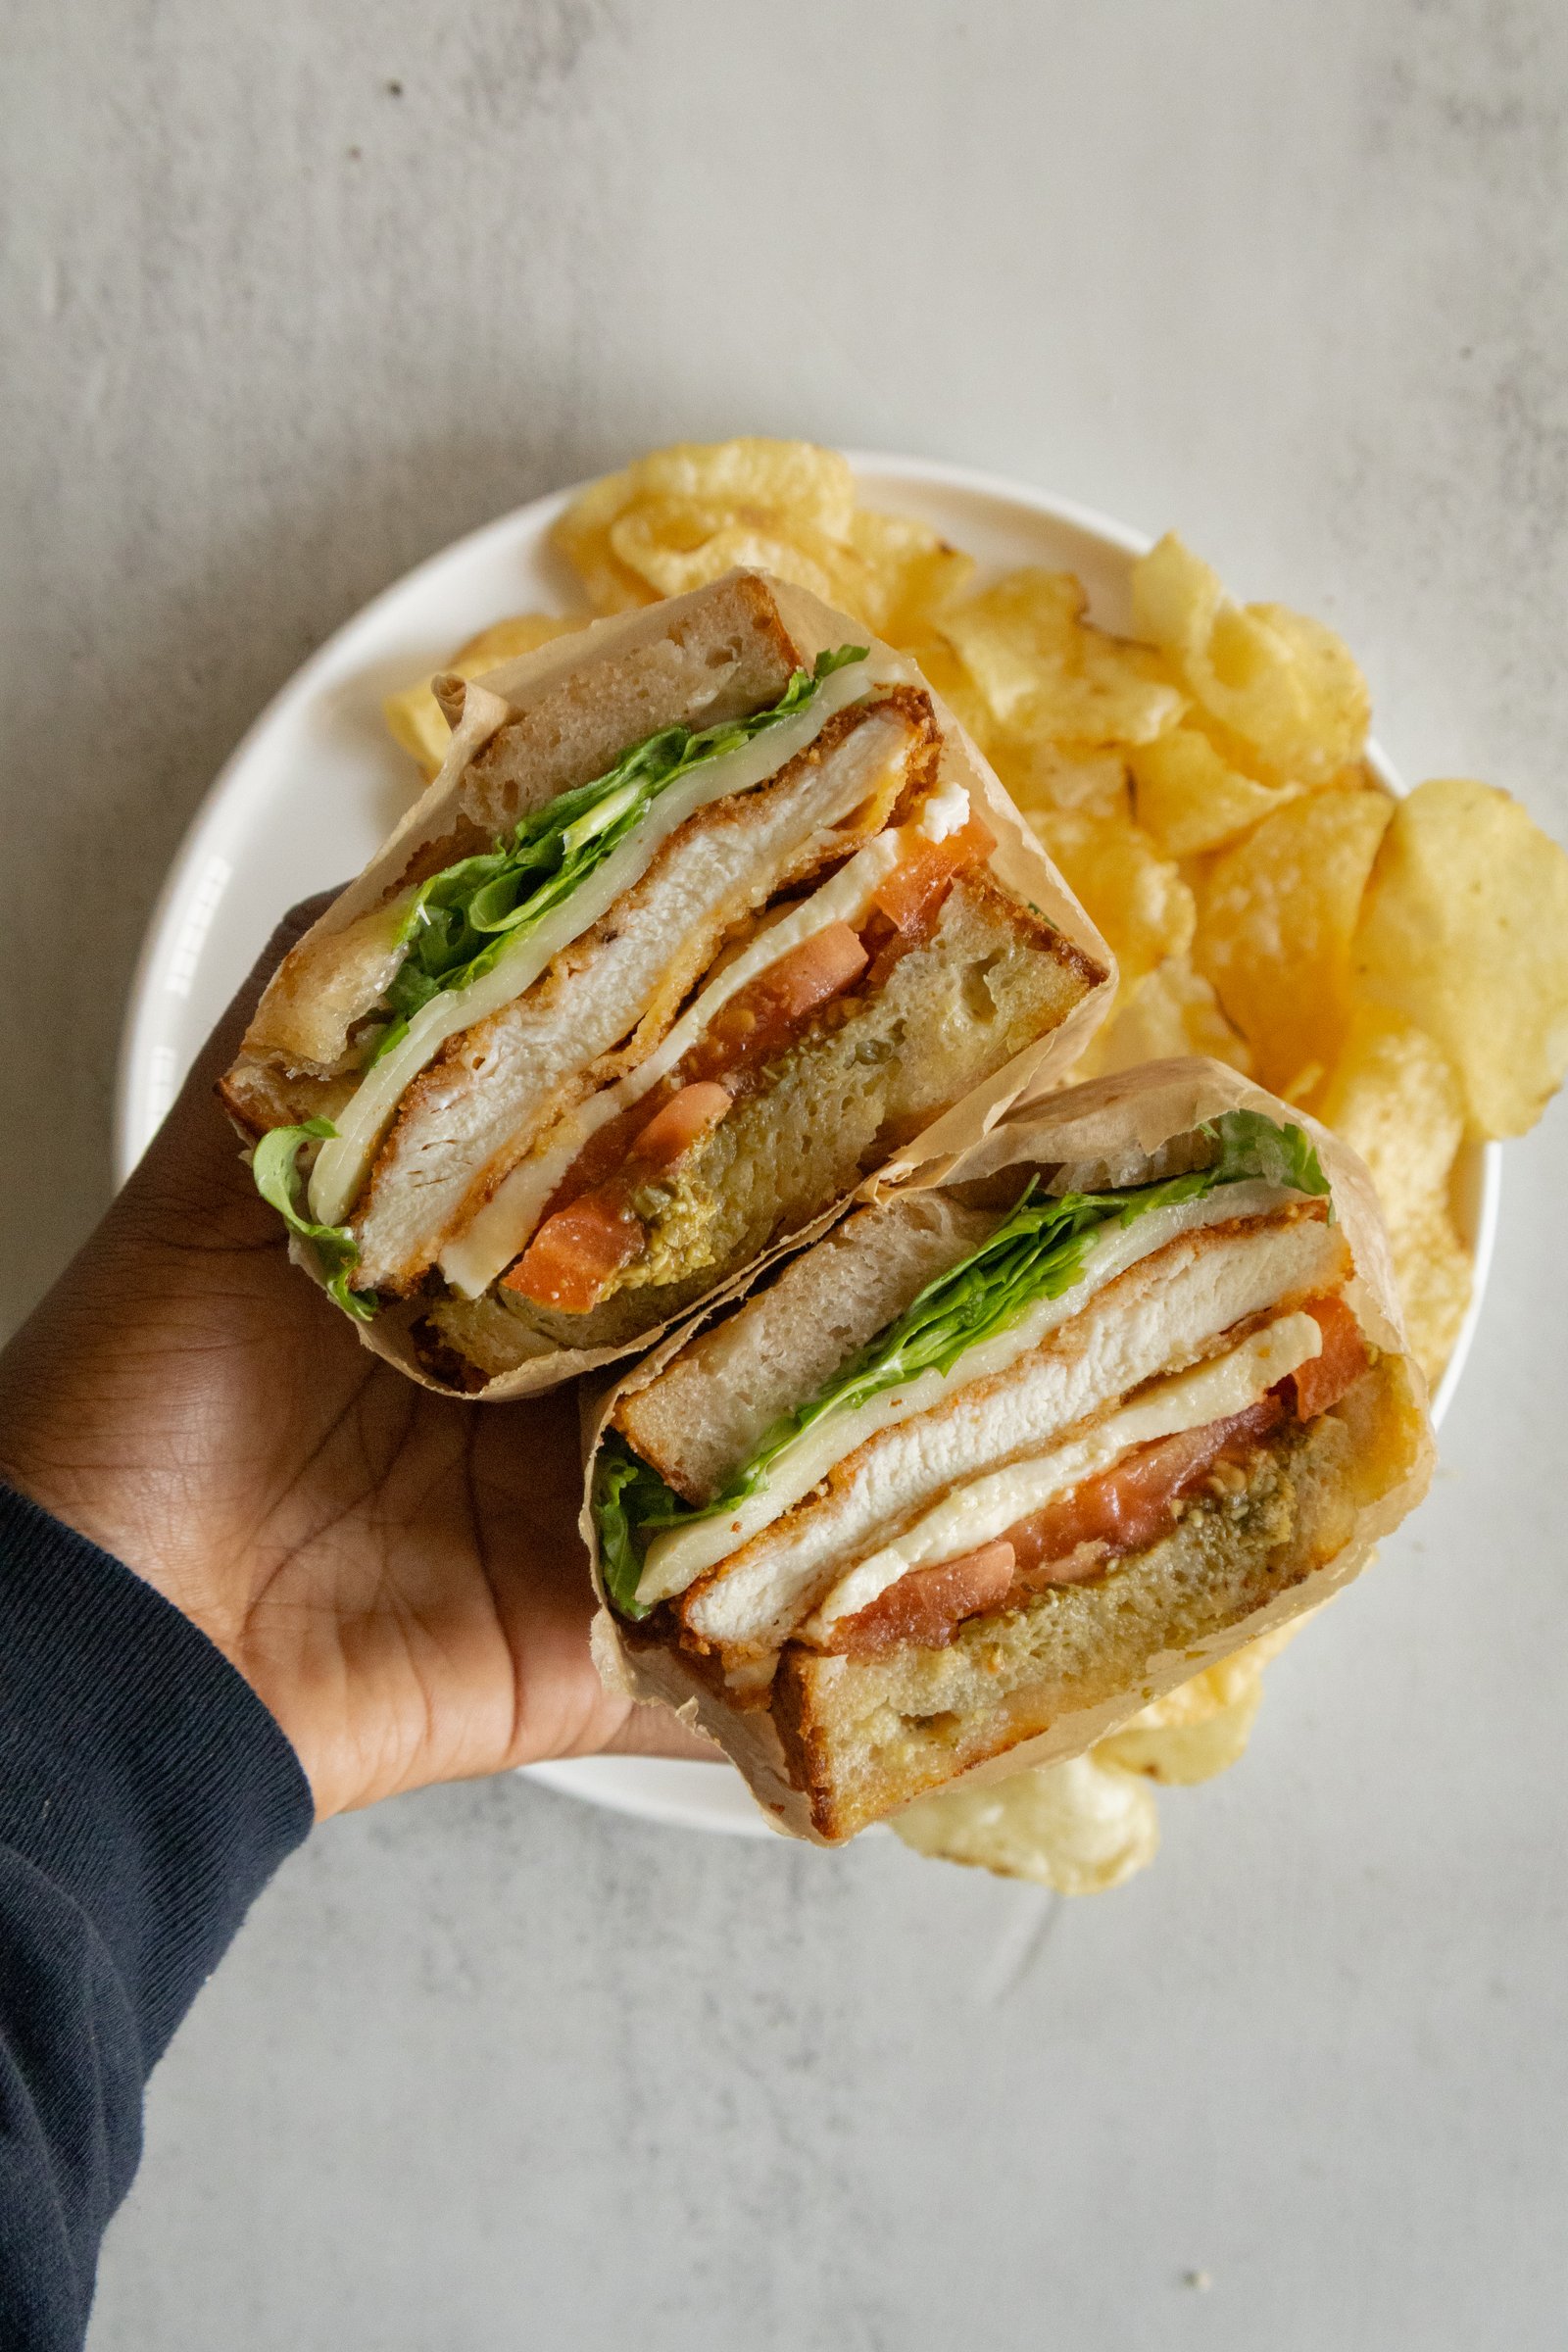
- The number of cutlets you make will depend on what you’re using them for. For something like a sandwich, I prefer thinner cutlets, so I’ll divide one chicken breast into 3–4 pieces. For something like chicken katsu, I prefer thicker pieces and will usually divide the breast into 2–3 cutlets.
- Season both sides of the chicken with salt, black pepper, garlic powder, and paprika, or whatever spices you’re using for your particular variation. Let the chicken sit while you prepare your breading station so the seasoning has a little time to absorb.
2. Prepare your breading stations
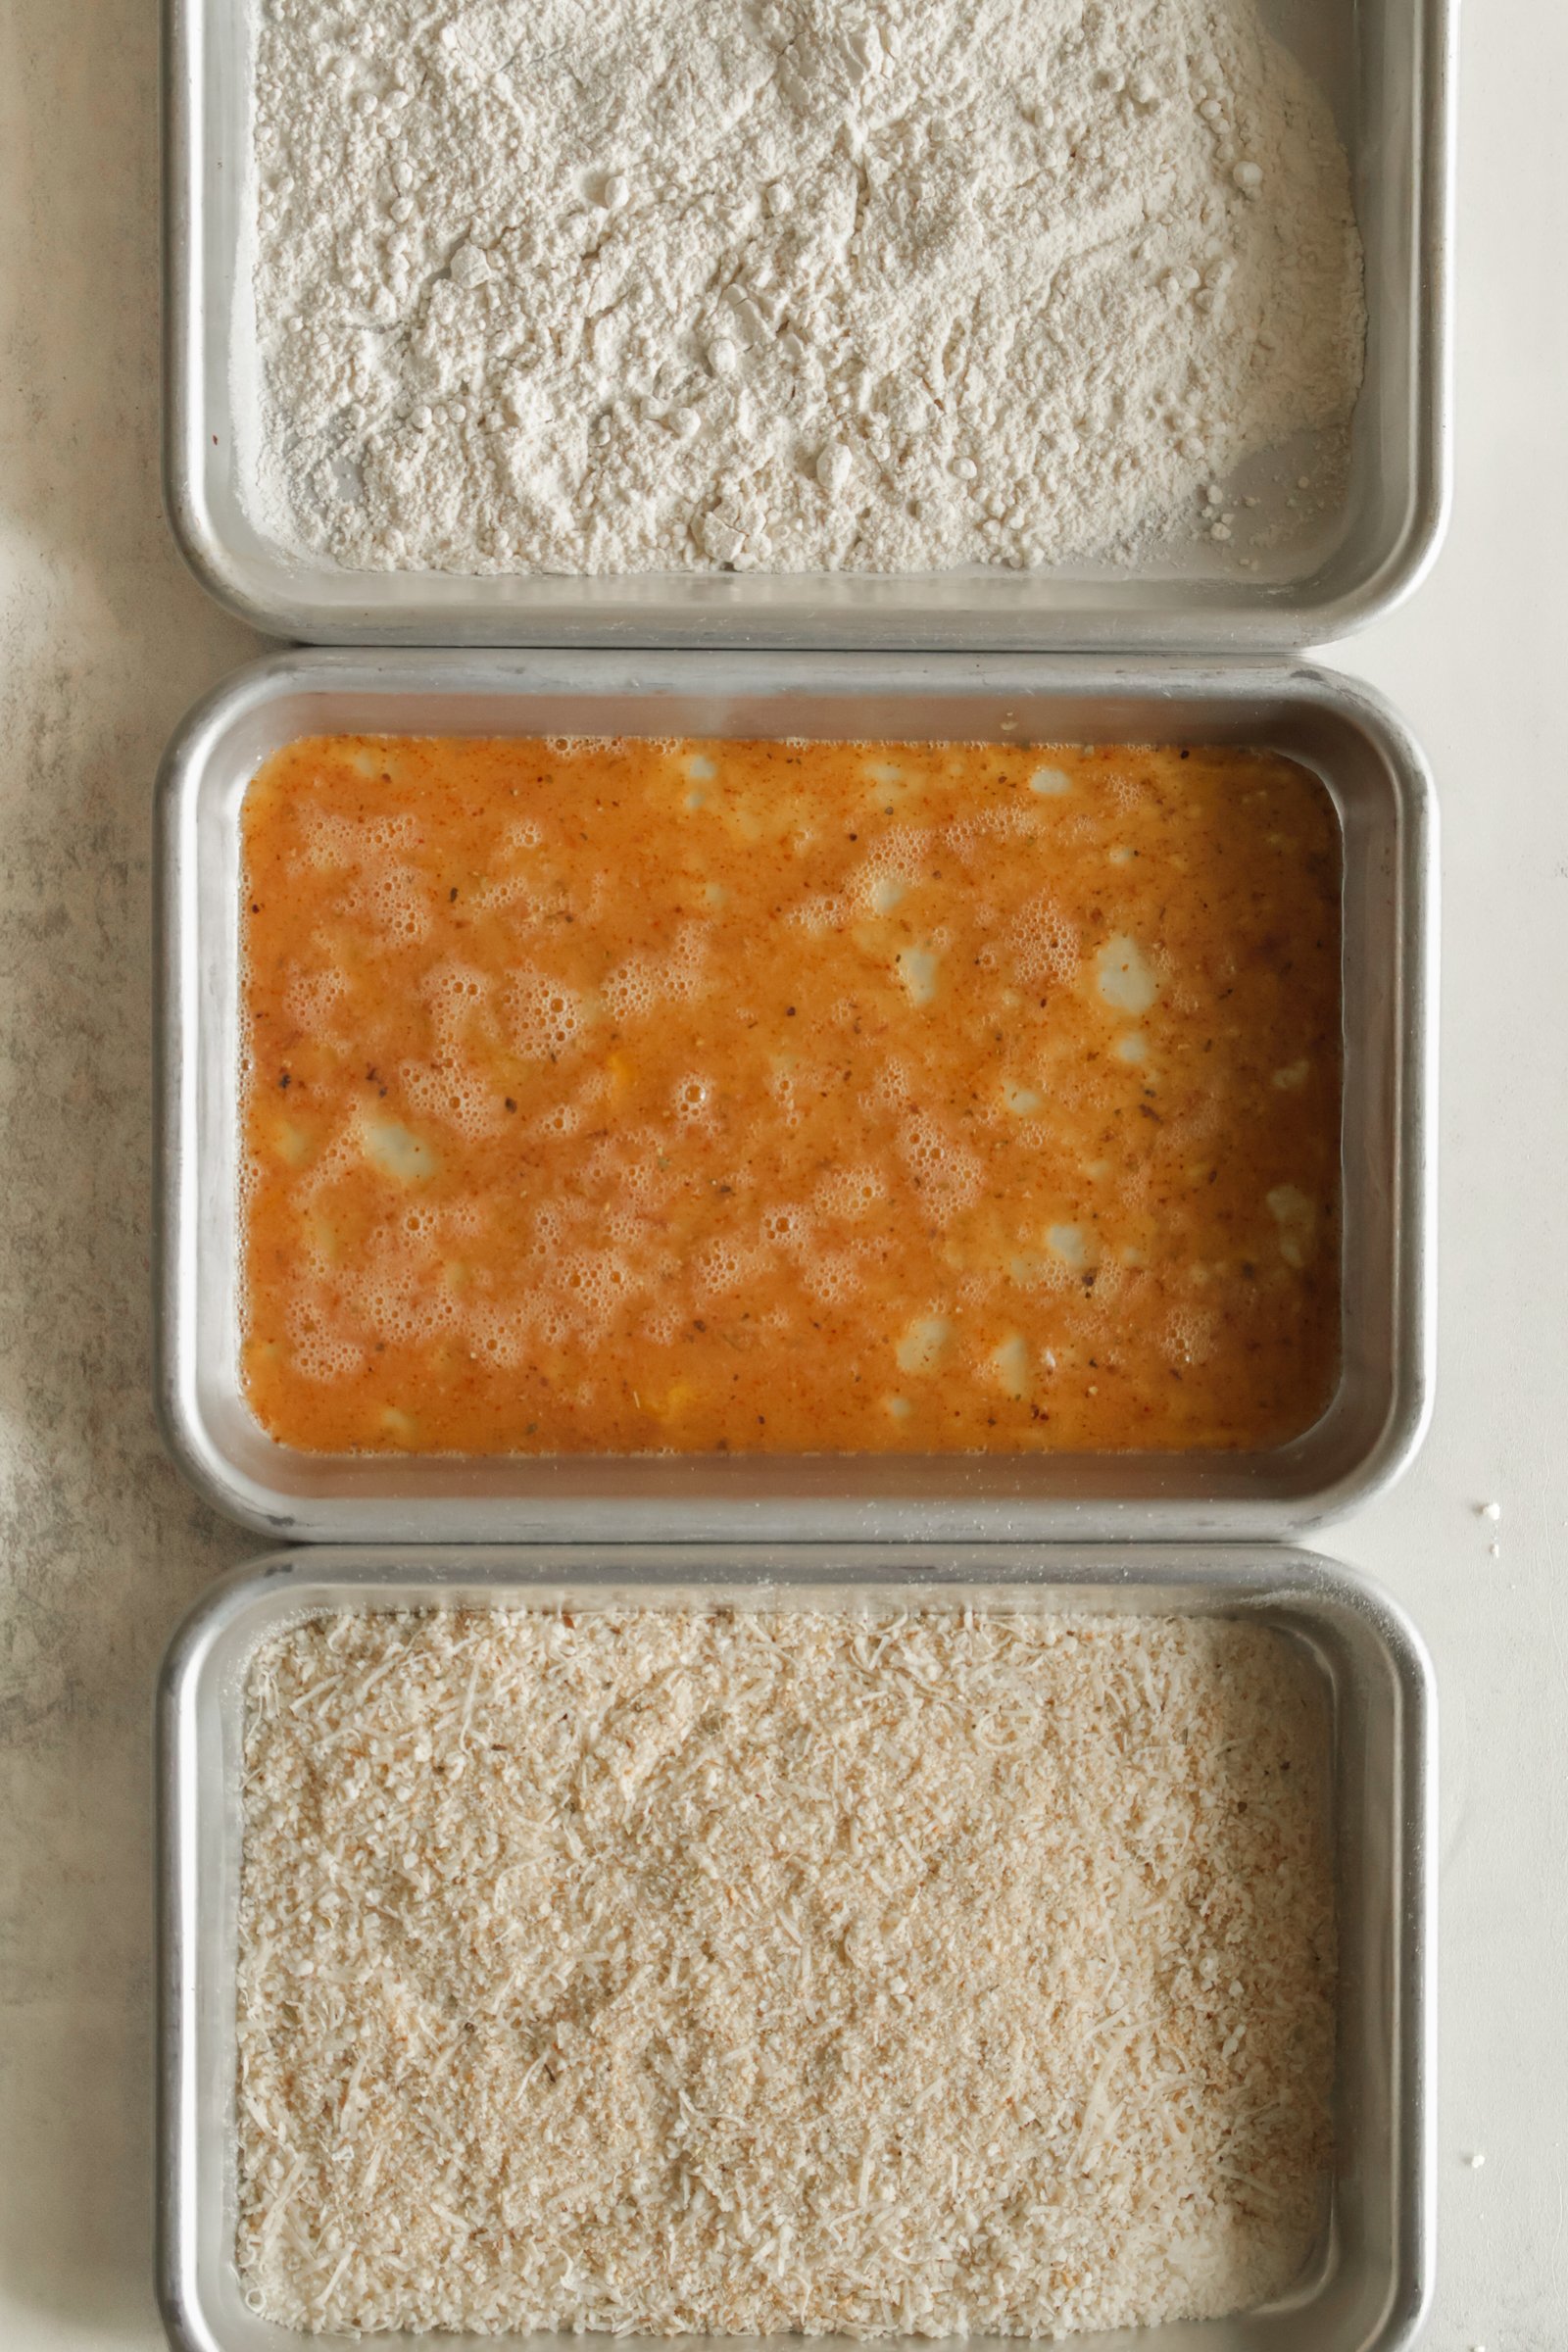
- Set up three shallow dishes or plates.
- Flour: Mix the flour with a pinch of salt and black pepper.
- Egg wash: Whisk the egg with ¼ tsp salt, ¼ tsp black pepper, ¼ tsp garlic powder, and ¼ tsp paprika, using the same spices you used to season the chicken.
- Breadcrumb mixture: Combine the panko, regular breadcrumbs, and dried oregano.
This is your base seasoning, but this is also where you can start customizing. Herbs, Parmesan, sesame seeds, spices, and other flavor-specific additions can all go into the breadcrumb mixture.
3. Bread the chicken
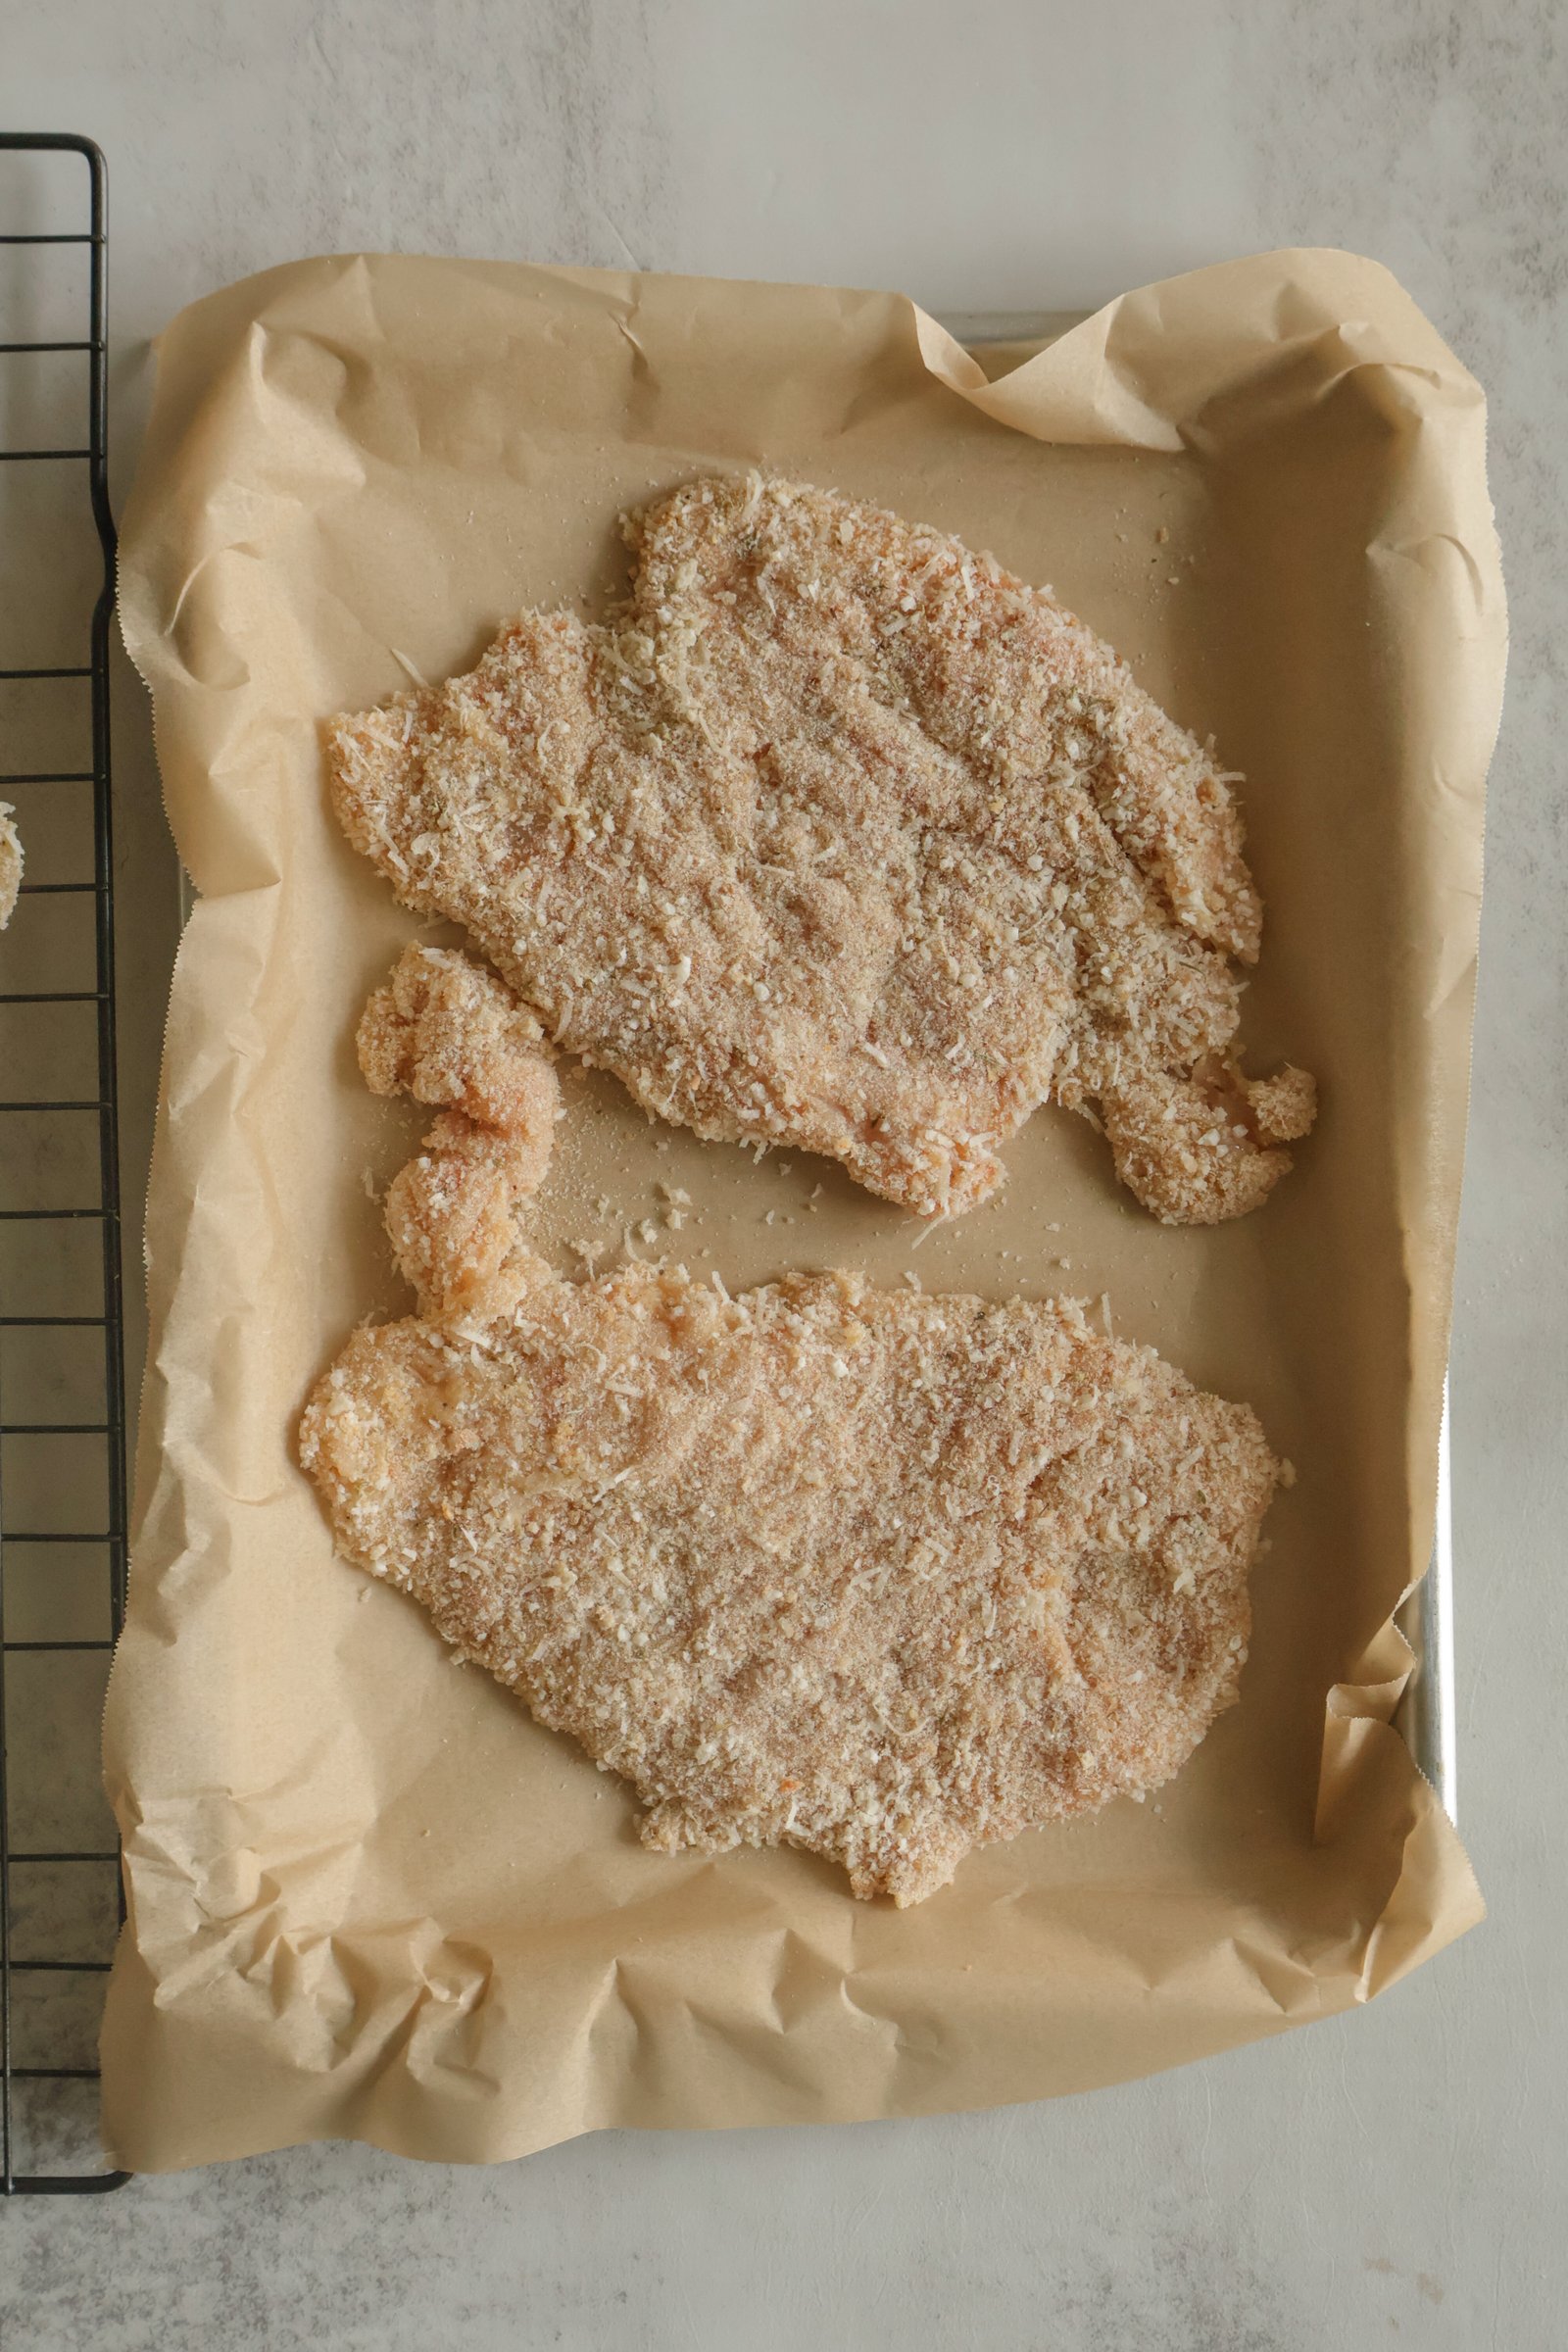
- Coat each cutlet in the flour, shaking off any excess. Dip it into the egg mixture, making sure the entire surface is coated.
- Transfer the chicken to the breadcrumbs and press the chicken firmly into the breadcrumbs. Do not treat the breadcrumbs like flour — you don’t want to shake anything off. Pressing ensures that the entire surface is covered and helps the coating adhere to the chicken.
4. Heat your oil
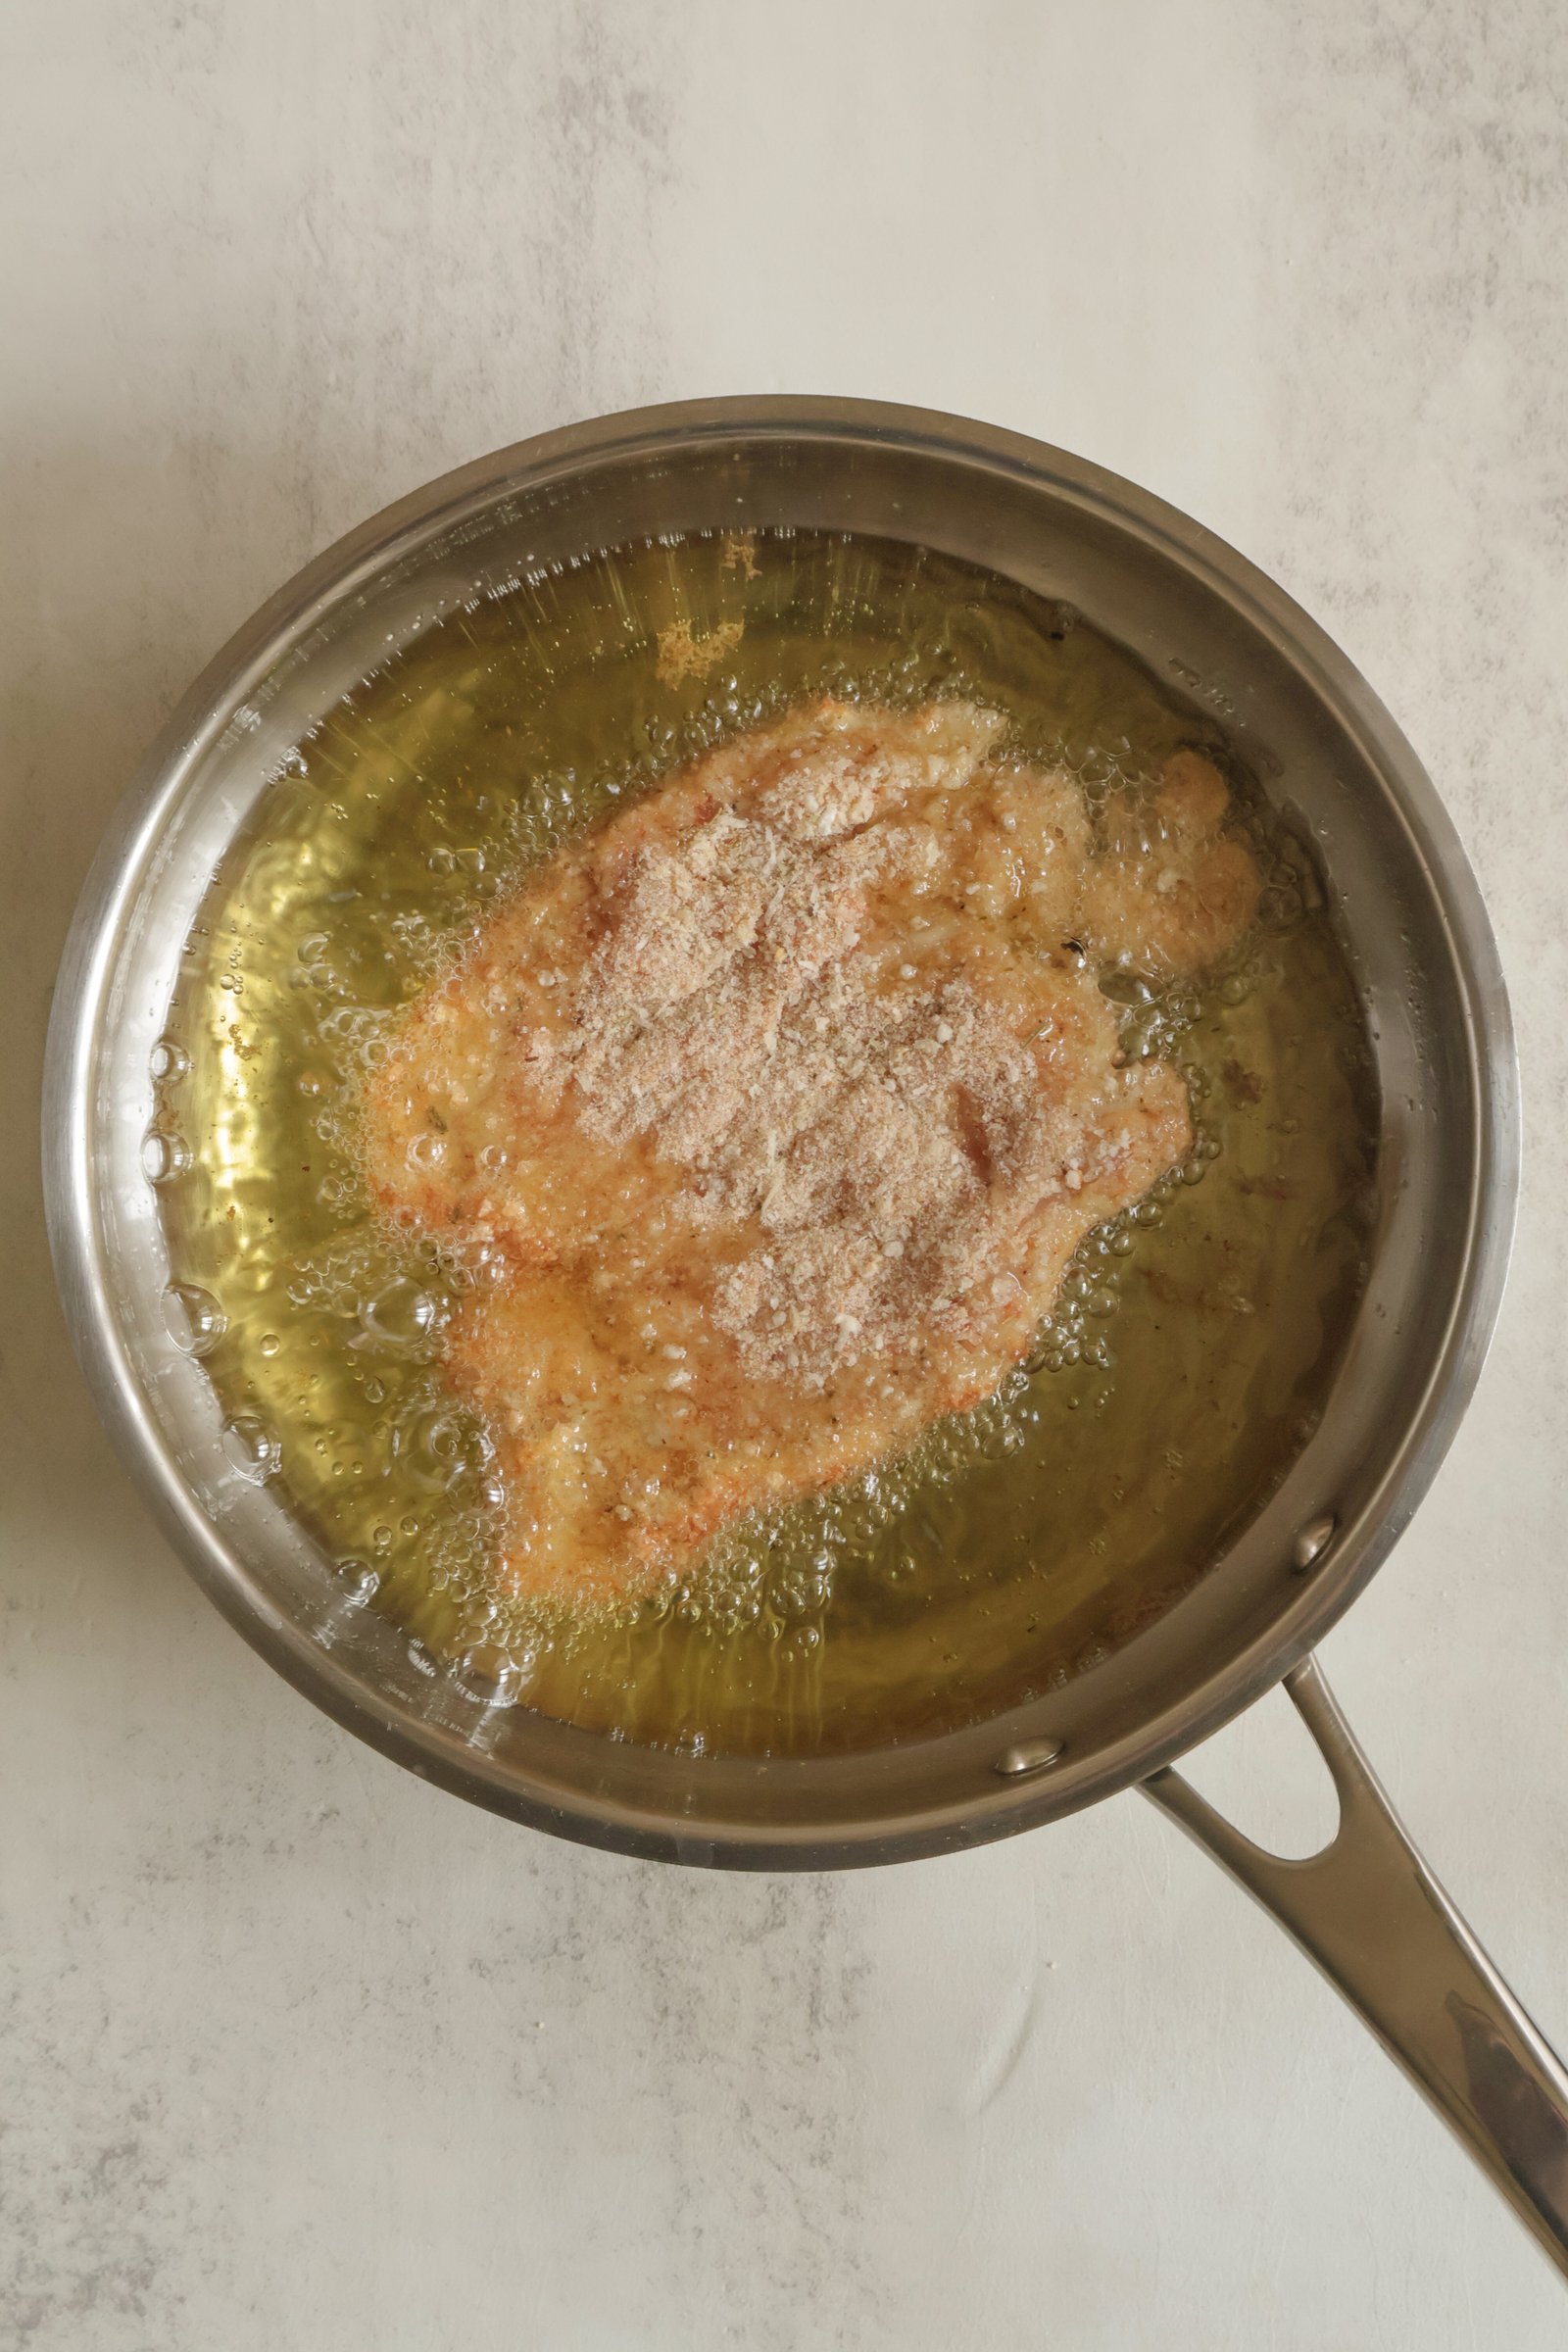
- Heat a neutral oil over medium-high heat to around 350–375°F (180–190°C).
- You don’t need to completely submerge the chicken. I like using enough oil to come roughly halfway up the sides of the cutlet so the coating gets plenty of contact with the hot oil.
- If you don’t have a thermometer, dip the end of a wooden toothpick into the oil. If bubbles immediately form around it, the oil is ready.
5. Fry until golden and crisp
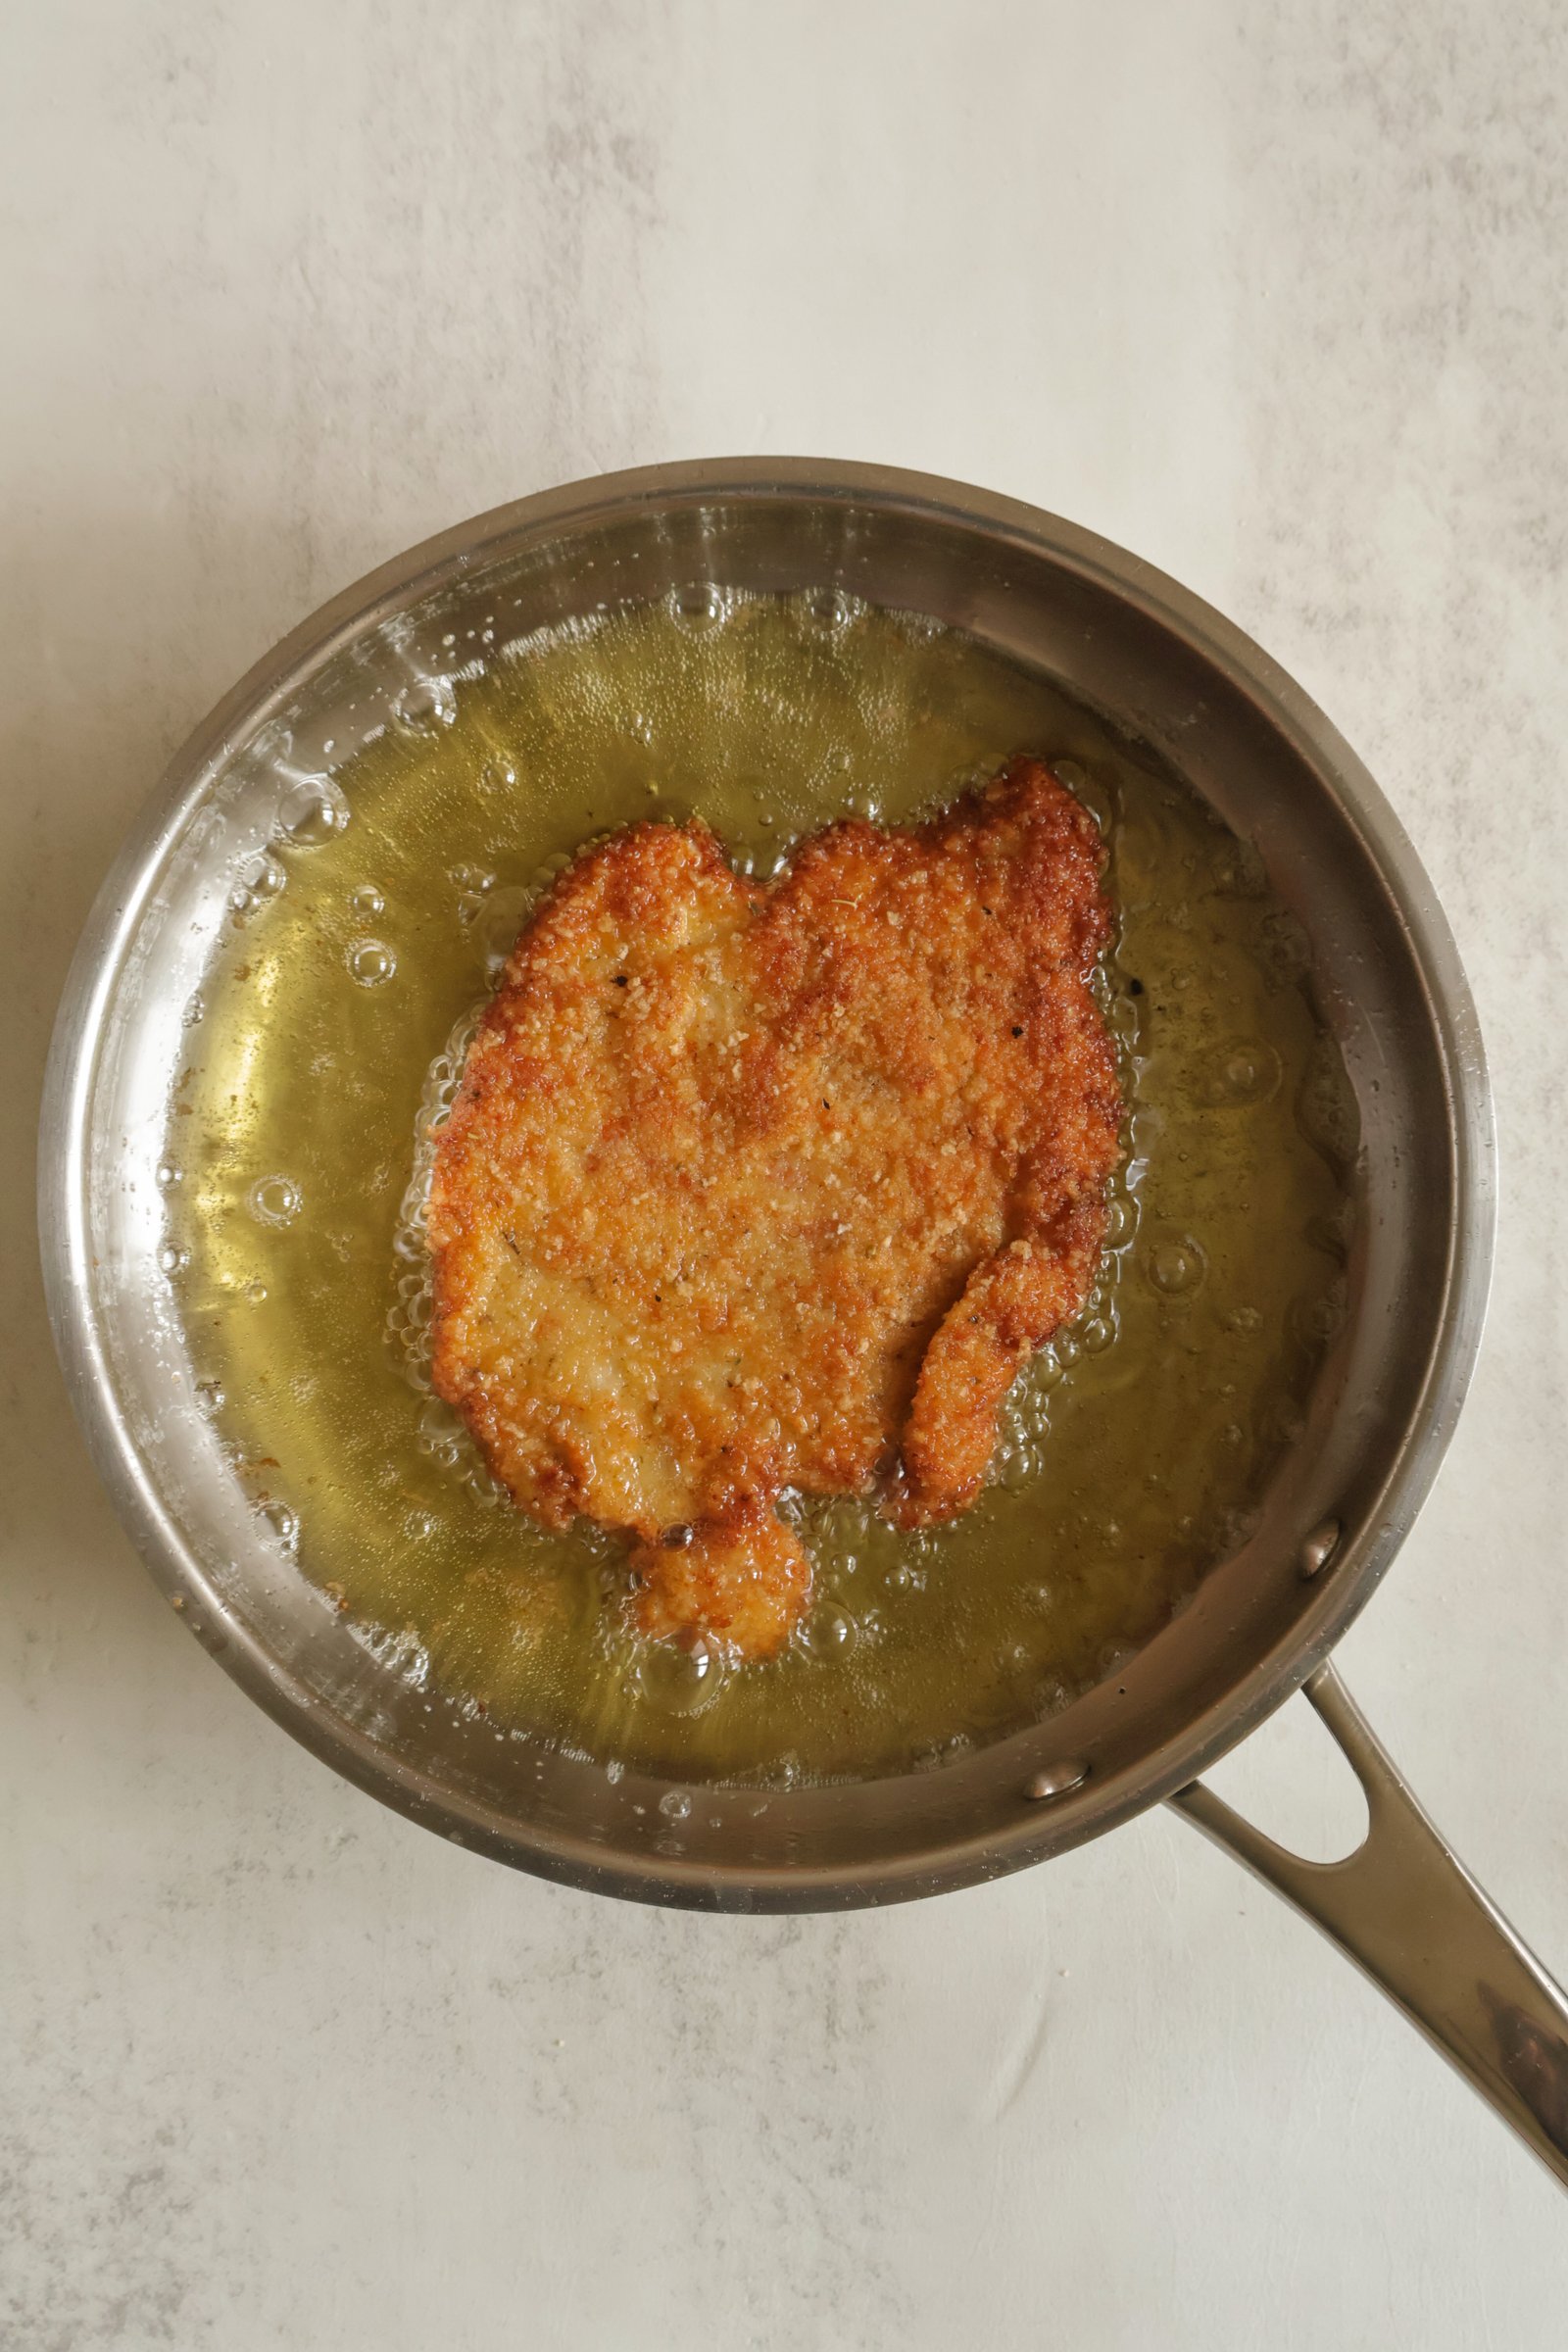
- Fry the cutlets for approximately 3–5 minutes per side, depending on their thickness, until deeply golden brown and crispy.
- Don’t overcrowd the pan. Adding too many cutlets at once will cause the oil temperature to drop, which means the chicken will sit in the oil longer. This can result in an overcooked, greasy cutlet where the chicken is done before the crust has had a chance to become properly crispy.
- Once the chicken goes into the oil, try not to move it around too much. Let the crust set and develop before flipping.
- The standard recommended internal temperature for chicken is 165°F (74°C). I personally pull my thin cutlets at around 158°F (70°C), then let the residual heat carry them the rest of the way while they rest.
6. Drain and rest
- Transfer the cooked cutlets to a wire cooling rack and let them rest for a few minutes before serving.
- I prefer a cooling rack over paper towels because it allows excess oil to drain without trapping steam underneath the chicken. This keeps the crust crisp instead of allowing it to become soggy.
CUSTOMIZING YOUR CHICKEN CUTLET
Once you’ve mastered the technique, this is where you can have fun with it.
The breading method doesn’t need to change just because the flavor profile does. You can adjust the seasonings, herbs, cheese, breadcrumb ratio, and toppings depending on what you’re making.
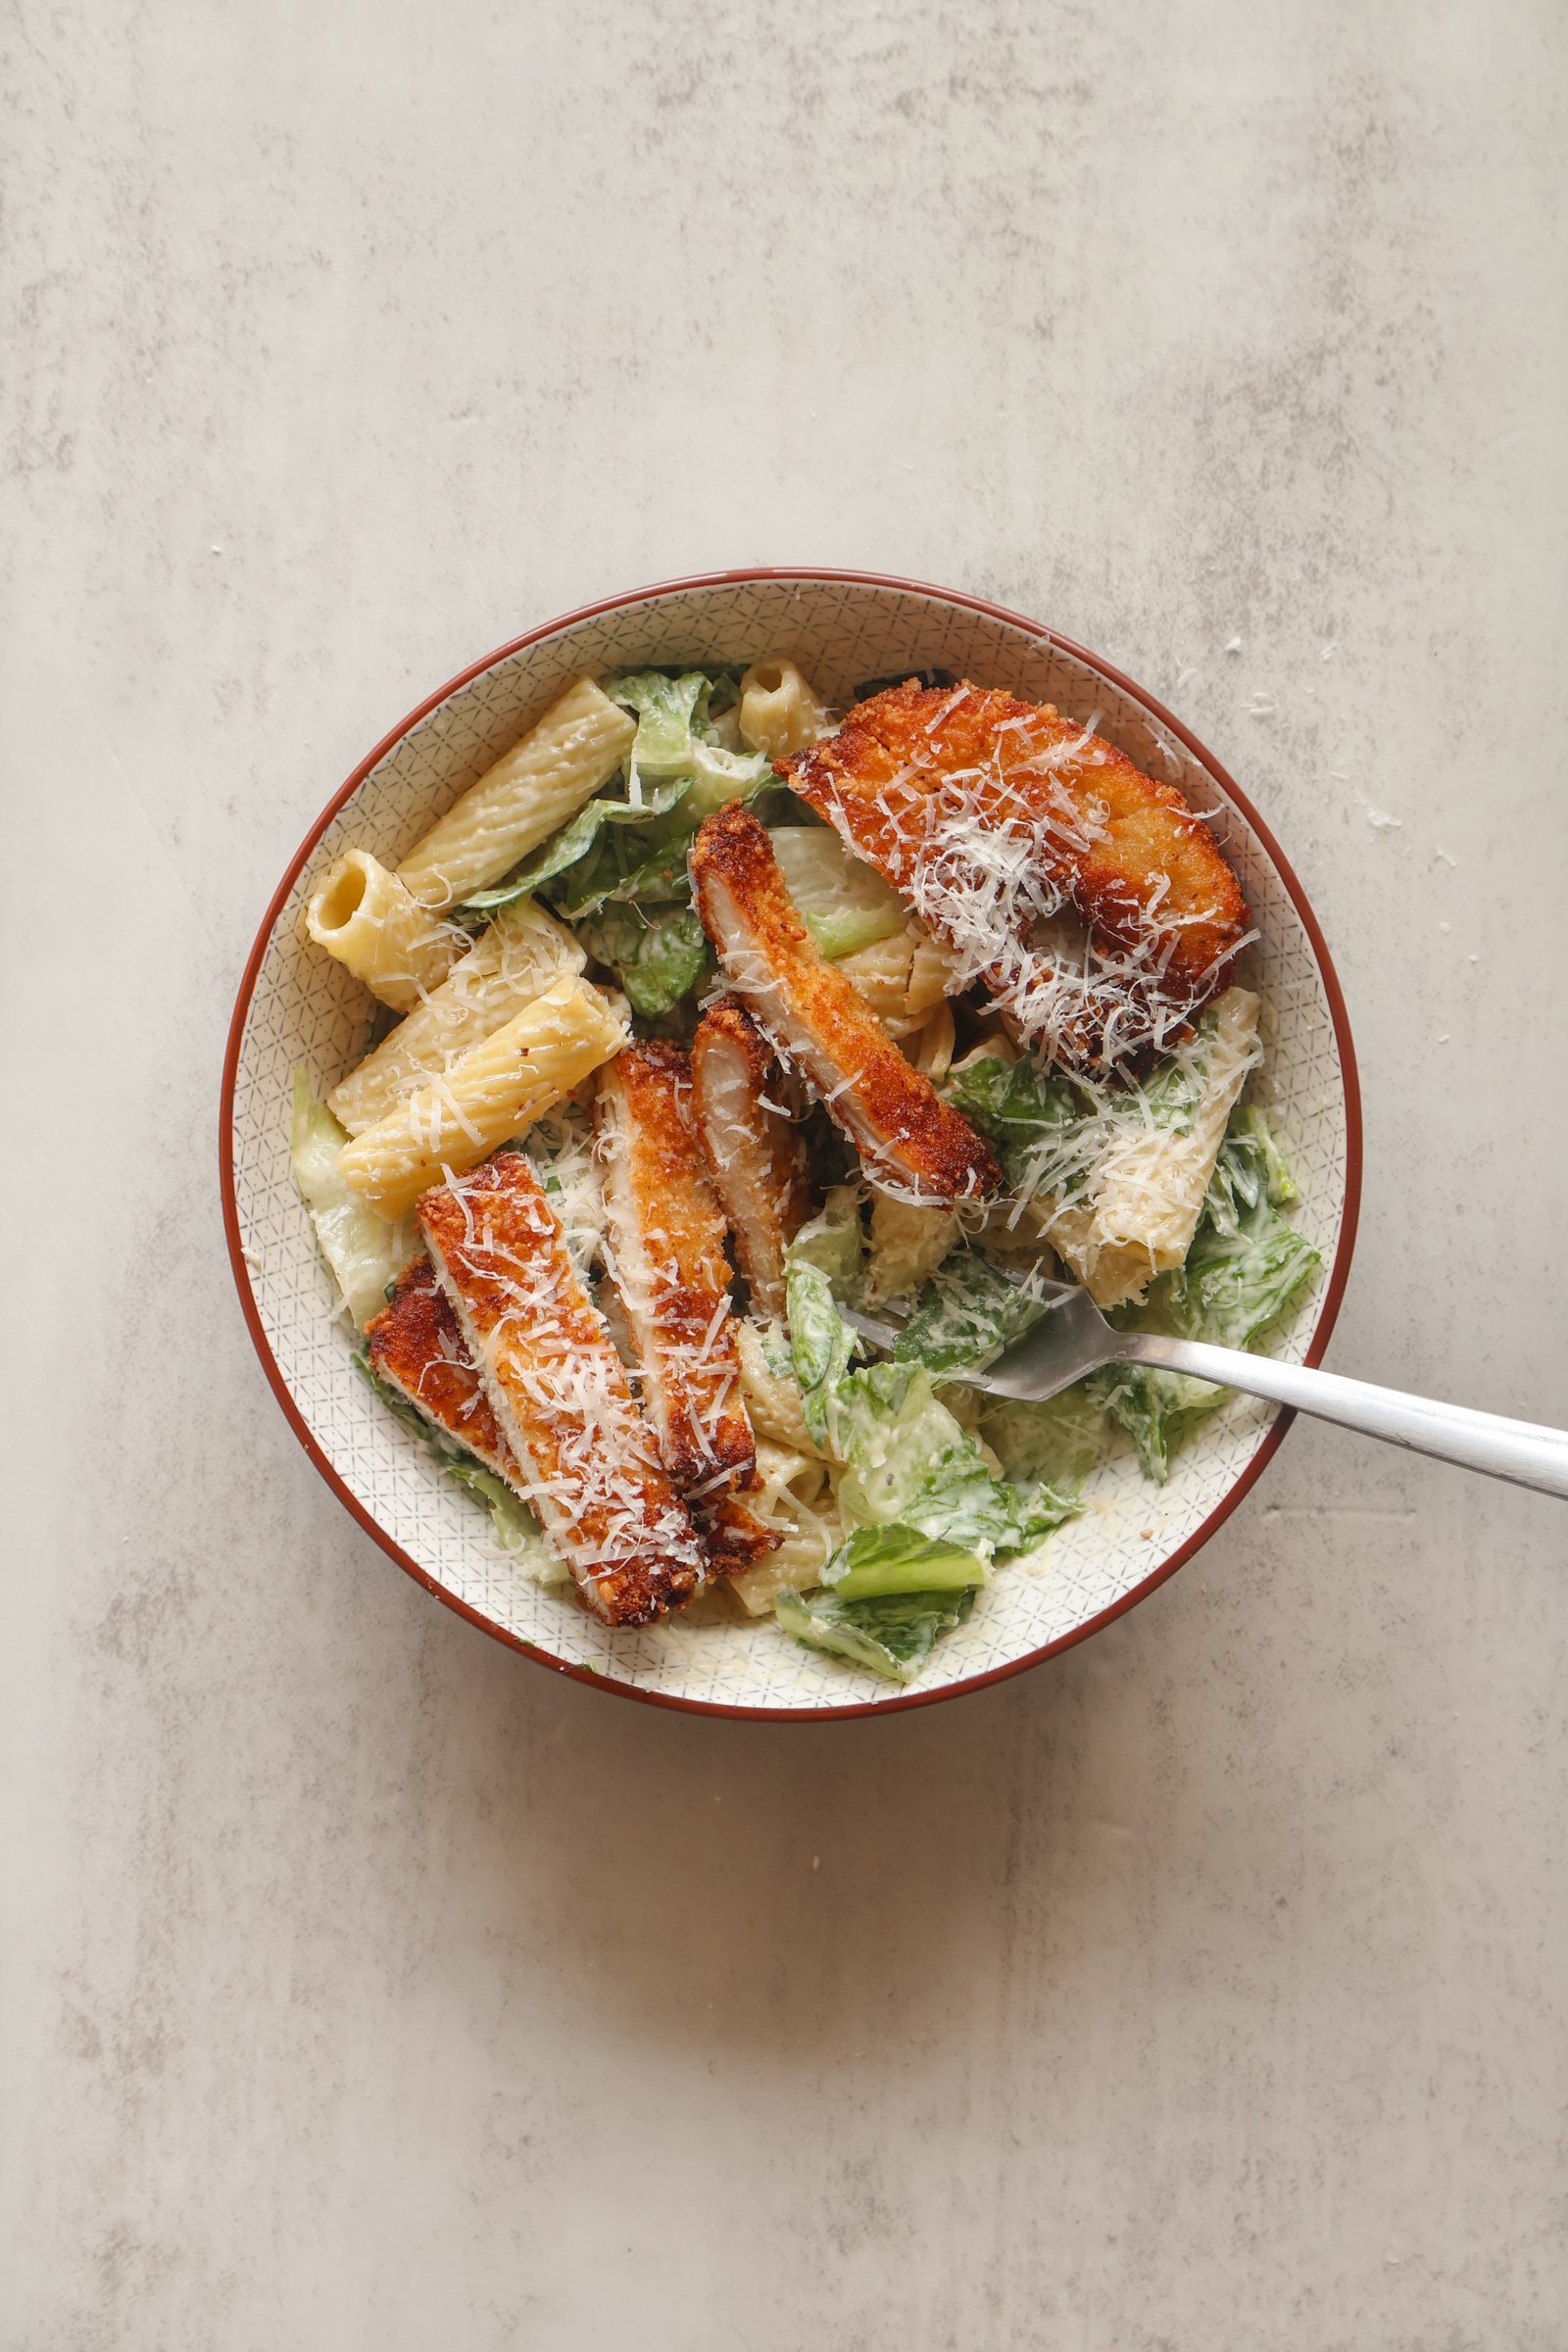
Parmesan-Crusted
One of my go-to variations is a Parmesan-crusted chicken cutlet.
For this, use freshly grated Parmesan in the breadcrumb mixture. I never measure how much I add, but you want enough to get that Parmesan flavor throughout the crust without allowing it to overpower the chicken. You can also adjust the oregano depending on how herb-forward you want the cutlet to be.
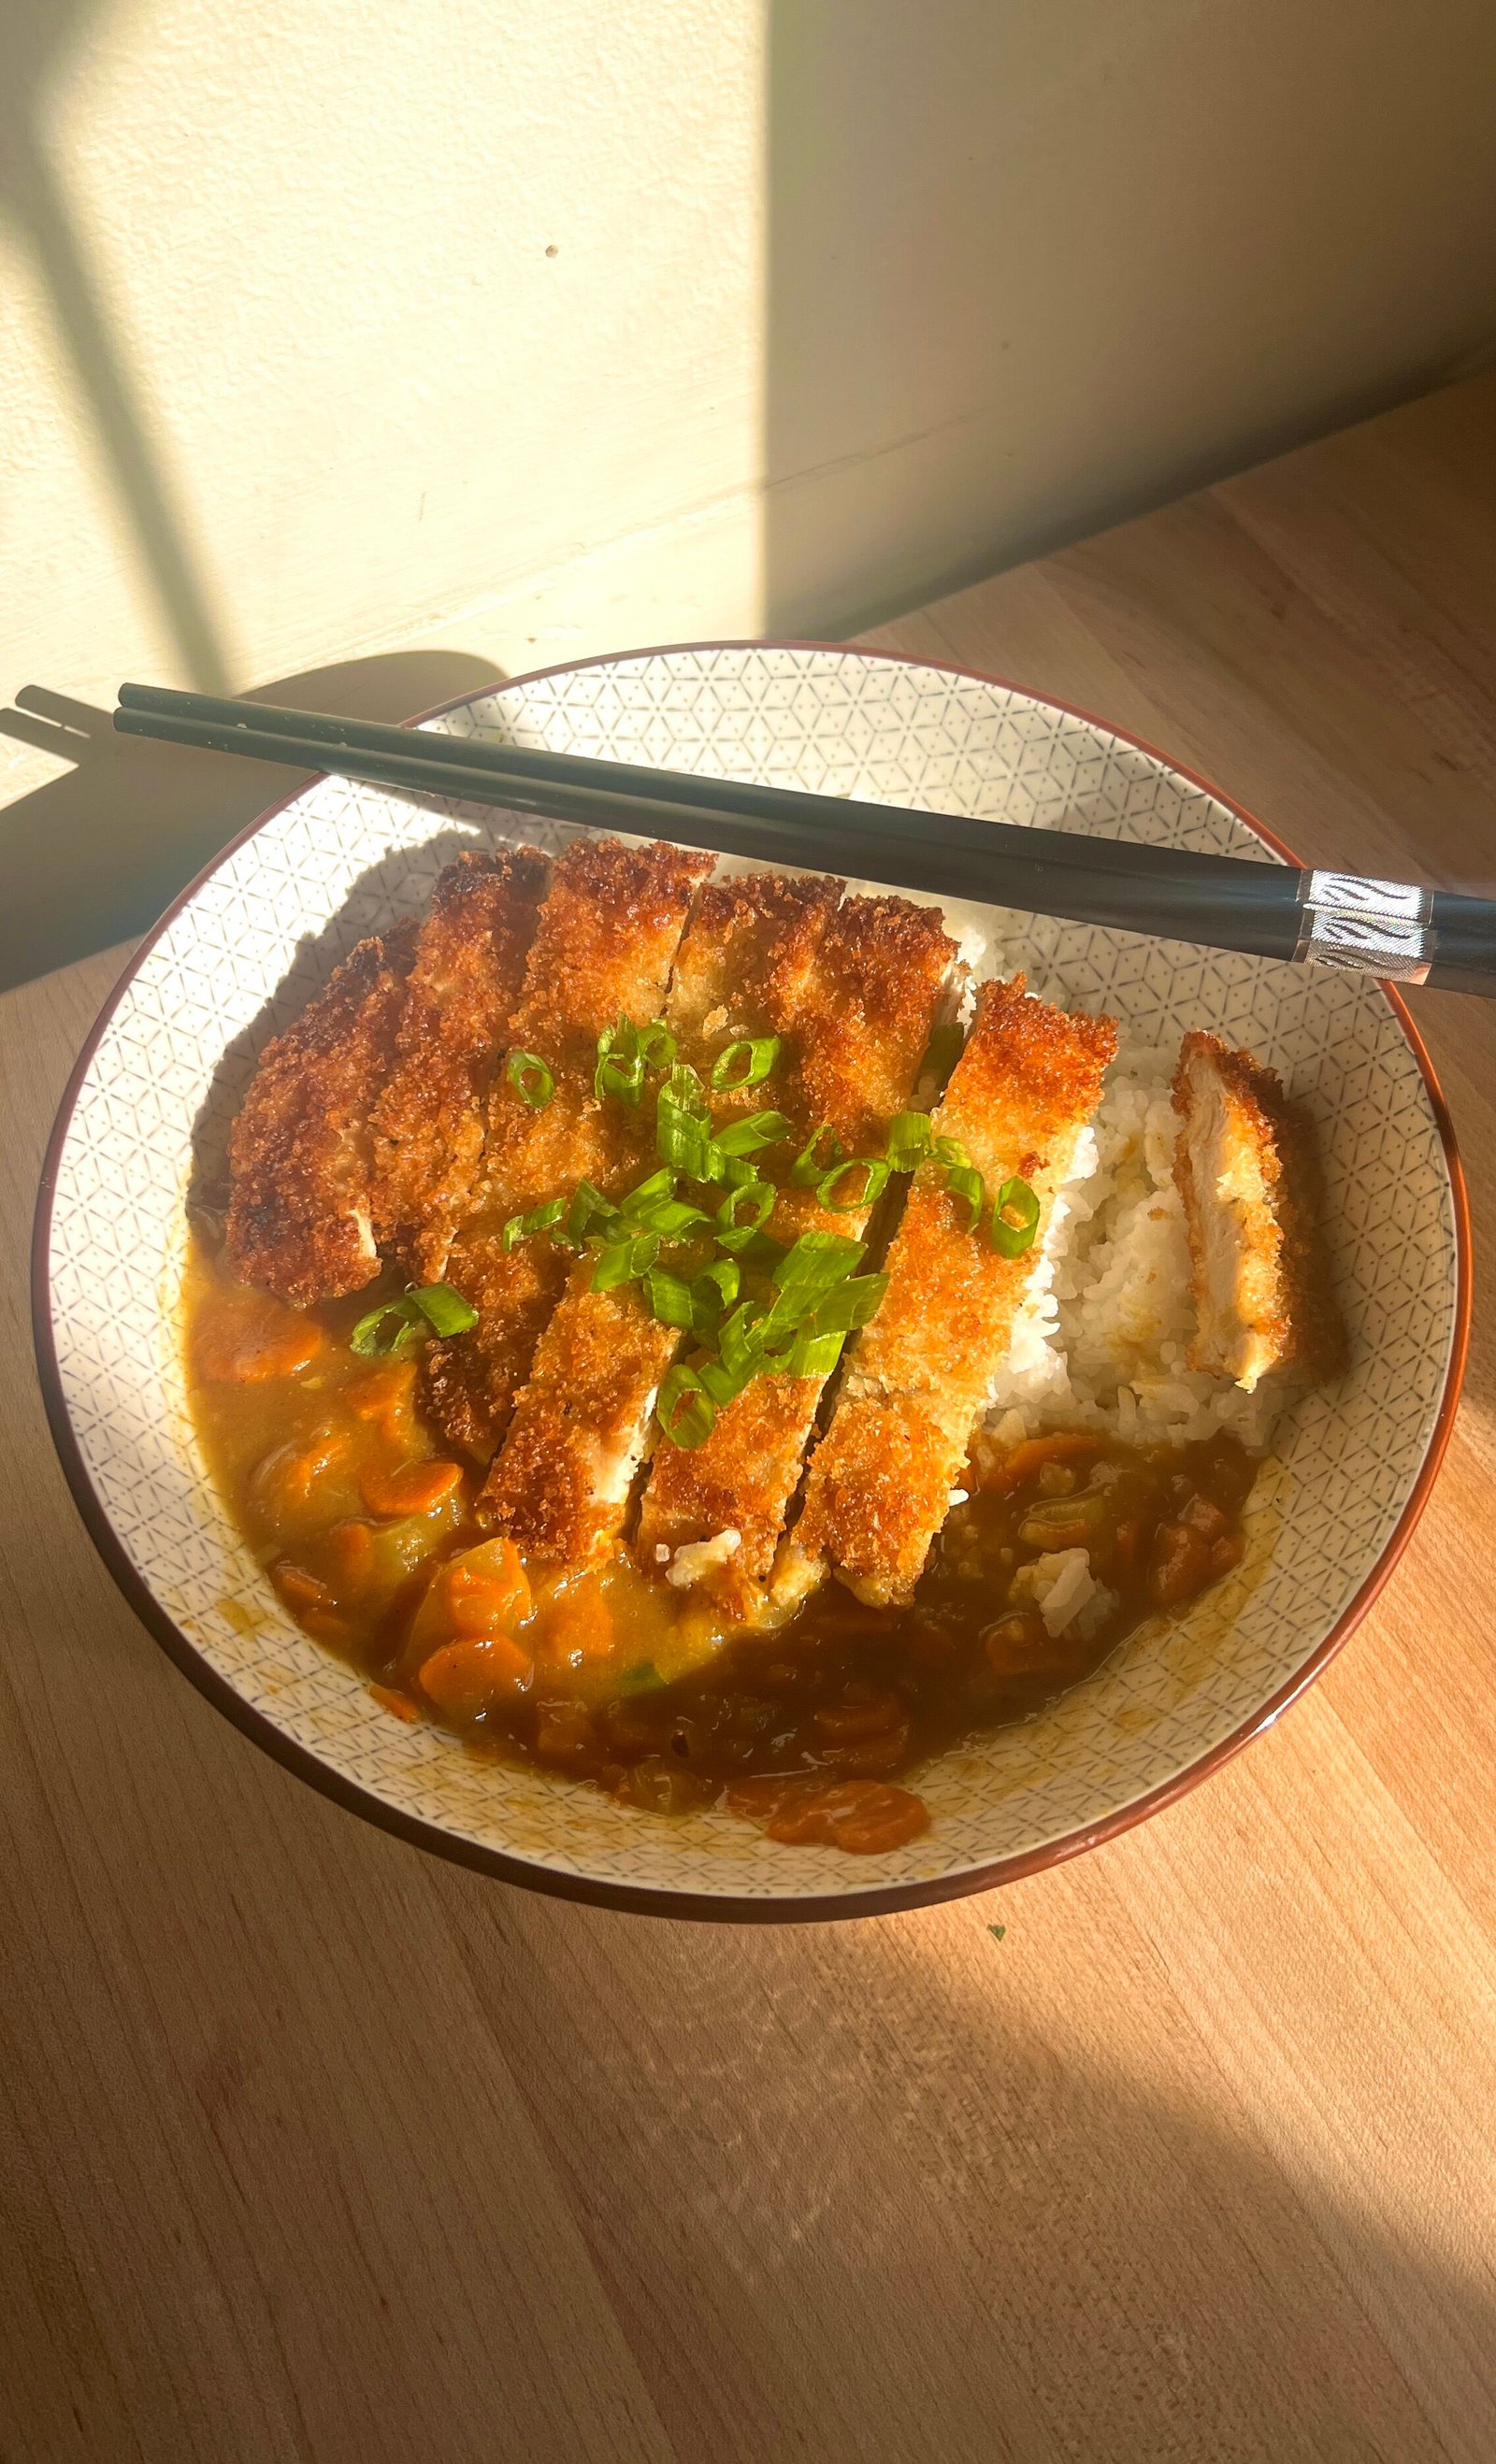
Katsu Curry
For katsu curry, I would omit the oregano and keep the rest of the base spices relatively simple.
Traditional katsu uses panko exclusively, and you absolutely can use panko only. Personally, I like adding a little regular breadcrumb because I find that it fills in some of the gaps left by the larger panko pieces and gives me a more even coating.
For katsu, I also prefer a thicker chicken cutlet, so instead of dividing one chicken breast into 3–4 pieces, I’ll usually divide it into 2–3 pieces, depending on the size of the breast.
Herby
Make the breadcrumb mixture more herb-forward by increasing the amount of herbs and using a combination such as oregano, parsley, basil, thyme, or rosemary. Keep the garlic and Parmesan relatively subtle if you want the herbs to be the dominant flavor.
Spicy
Add cayenne, crushed red pepper, or your preferred chili powder to the chicken and breadcrumb mixture. For even more flavor and heat, add a splash of your favorite hot sauce to the egg wash. You can also increase the paprika or use a combination of paprika and a spicier chili powder depending on how much heat you want. The amount of heat is completely up to you.
Lemon & Herb
Make the breadcrumb mixture more herb-forward with parsley and oregano, then add lemon zest for a bright, fresh flavor. You can keep the Parmesan in this variation, but I would use it more sparingly so the lemon and herbs remain noticeable. Finish the cooked cutlets with a squeeze of fresh lemon.
Cajun
Swap some of the salt, paprika, and black pepper for Cajun seasoning, then add garlic powder, onion powder, and cayenne depending on how spicy you want it. This is another variation where you’d want to reduce or omit the Parmesan so it doesn’t compete with the Cajun seasoning.
TIPS & THINGS TO KEEP IN MIND
1. Play around with your breadcrumbs
You do not always have to use panko, regular breadcrumbs, or the exact ½ cup to ⅓ cup ratio listed above.
The ratio I use is simply my starting point. Depending on the variation, I may use more panko, more regular breadcrumbs, or even regular breadcrumbs exclusively.
For something like the Lemon & Herb variation, I think regular breadcrumbs can work particularly well because they create a finer, more cohesive coating. For katsu, I prefer panko to be dominant for that characteristic crunch.
Play around with the ratios and see what texture you prefer.
2. Adjust the thickness of the chicken
The number of cutlets you get from one chicken breast should depend on what you’re making.
For something like chicken katsu, I prefer thicker cutlets, so I’ll divide the breast into 2–3 pieces.
For sandwiches, I prefer thinner cutlets. Dividing the breast into 3–4 pieces gives me a thinner cutlet with what I think is a better chicken-to-crust ratio for a sandwich.
If you ever end up with an uneven cutlet, don’t worry. Use a meat tenderizer to gently pound the thicker part of the chicken until it is closer in thickness to the rest. This will help everything cook evenly.
3. Season every layer
This is probably one of the most important things to remember.
The chicken itself doesn’t need to be aggressively seasoned because you’re building flavor throughout the entire breading. A little goes a long way.
I season the chicken lightly, season the flour with salt and pepper, season the egg with the same spices I used on the chicken, and use the breadcrumb mixture as the place to add herbs, cheese, sesame seeds, spices, or any other flavor-specific additions.
4. PRESS the breadcrumbs onto the chicken
Don’t treat the breadcrumbs like flour.
When you coat the chicken in flour, you want to shake off the excess. When you get to the breadcrumbs, press the chicken firmly into them.
You want the entire surface covered, and pressing the breadcrumbs onto the chicken helps create a thicker, more even coating that stays attached during frying.
5. Get the oil temperature right
Your oil should be around 350–375°F (180–190°C) before the chicken goes in.
If the oil is too cool, the chicken will absorb more oil and take longer to crisp. If it’s too hot, the breadcrumbs can brown too quickly before the chicken has finished cooking.
When frying in batches, give the oil time to come back up to temperature between batches.
6. Don’t overcrowd the pan
Give your cutlets enough room to fry properly.
Overcrowding the pan causes the oil temperature to drop, which can lead to the chicken sitting in the oil longer than necessary. You want the crust to become golden and crispy around the same time the chicken finishes cooking.
7. Use the internal temperature as your guide
Chicken should reach 165°F (74°C) for the standard recommended safe temperature.
Because these cutlets are thin, they cook quickly. I personally pull mine at around 70°C and let the residual heat finish cooking them as they rest.
8. Always rest on a cooling rack
Transfer your cutlets to a wire cooling rack immediately after frying.
This allows excess oil to drain away while also allowing steam to escape from underneath the crust. Placing them directly onto a plate or paper towel can trap steam and soften the coating.
THE BASIC FORMULA
Once you understand the technique, you really don’t need to think of this as one fixed recipe.
Chicken → seasoned flour → seasoned egg → customized breadcrumb mixture → fry → rest
The fun is in changing what goes into each layer depending on what you’re making. Keep the base simple for a heavily sauced dish, make the herbs the star when you want something fresh and herbaceous, add Parmesan for a richer Italian-inspired crust, or bring in spices and aromatics for something completely different.
The technique stays the same. The flavor profile is yours to play with.
MAKE-AHEAD & FREEZER FRIENDLY
One of my favorite things to do is make a big batch of breaded chicken cutlets and freeze them for later. This is perfect for those days when I’m craving a crispy chicken cutlet but don’t feel like going through the entire dredging process—or waiting for chicken to thaw.
The trick is to bread the chicken before freezing it. That way, when you’re ready for a cutlet, all you have to do is take it straight from the freezer and fry it.
How to freeze
After breading the chicken, place the cutlets in a single layer on a parchment-lined baking sheet. Make sure they aren’t touching each other and freeze until completely solid, about 1–2 hours. Once frozen, transfer the cutlets to a freezer-safe bag or airtight container. If stacking them, place a sheet of parchment between each cutlet so they don’t stick together. Label the bag with the date and use within 2–3 months for the best quality.
How to cook from frozen
When you’re ready to make them, do not thaw the cutlets first. Fry them directly from frozen in oil heated to around 340-350°F (175–180°C). Because the chicken is frozen, it will take longer to cook than a fresh cutlet. Keep the oil temperature steady and cook until the exterior is deeply golden and crispy and the chicken reaches 165°F (74°C) internally.
For particularly thick cutlets, you may need to lower the heat slightly after the crust has browned so the center has time to cook without burning the breadcrumbs.